
Installation
Database
Tips
Please make sure that docker and docker-compose are installed
Redis and MongoDb can be installed without docker, just set the account and password by yourself.
redis
git clone https://github.com/Autumn-27/ScopeSentry-Scan
cd ScopeSentry-Scan/build
# Edit the password yourpassword in the redis-docker-compose.yml file
docker-compose -f redis-docker-compose.yml up -d
MongoDb
git clone https://github.com/Autumn-27/ScopeSentry-Scan
cd ScopeSentry-Scan/build
# Edit the account password in the mongodb-docker-compose.yml file
docker-compose -f mongodb-docker-compose.yml up -d
Web/Server
Tips
Due to the large amount of built-in data, it takes a while for the database to be initialized. If you need to update the service for source code installation, you need to install git and curl tools.
You can then use docker logs -f container id to view the container logs to ensure that the operation is successful.
After success, the following figure is shown: 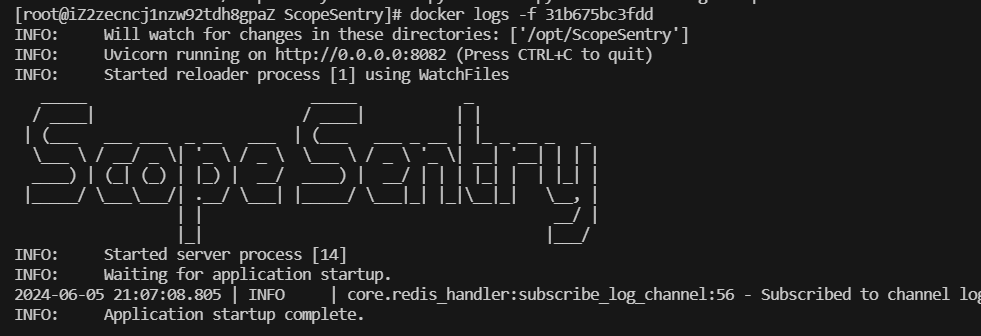
Visit http://IP:8082
The default account password is ScopeSentry/ScopeSentry
Tips
If you forget your password, enter the Mongodb database and modify the password in the user table to b0ce71fcbed8a6ca579d52800145119cc7d999dc8651b62dfc1ced9a984e6e64 Reset to ScopeSentry
Docker installation
git clone https://github.com/Autumn-27/ScopeSentry
cd ScopeSentry
# Edit the IP, port, account and password of Redis and MongoDb in the docker-compose.yml file
docker-compose up -d
Source code installation
git clone https://github.com/Autumn-27/ScopeSentry
cd ScopeSentry
pip install -r requirements.txt
Create config.yaml in the project root directory The content is as follows, modify the relevant connection information of Mongodb and Redis.
logs:
  total_logs: 1000
mongodb:
  database_name: ScopeSentry
  ip: 127.0.0.1
  password: QckSdkg5CKvtxfec
  port: 27017
  username: root
redis:
  ip: 127.0.0.1
  password: ScopeSentry
  port: '6379'
system:
  timezone: Asia/Shanghai
Finally run the program
python3 main.pyScreenshot of successful operation 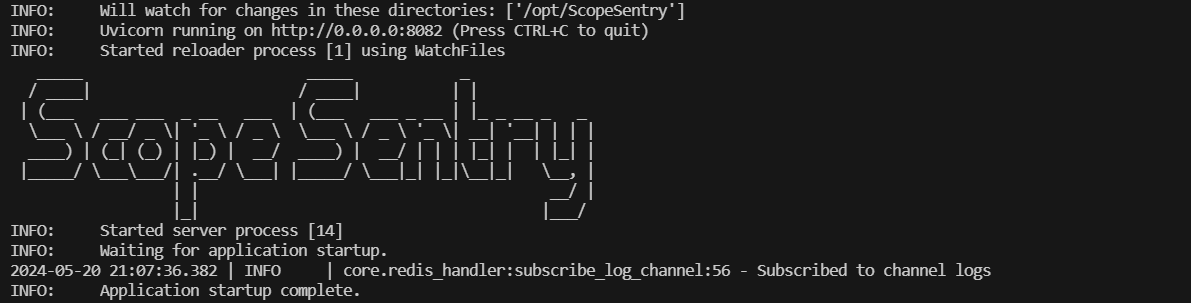
Visit http://IP:8082
The default account and password are ScopeSentry/ScopeSentry
Scan
Tips
Since the Scan end needs to connect to the database and query the built-in information, it is necessary to wait for the Server end to run successfully (initialize the database) before creating the Scan. Recommended docker installation~
Docker installation
git clone https://github.com/Autumn-27/ScopeSentry-Scan
cd ScopeSentry-Scan/build
# Edit the connection information of Mongdb and Redis in the scan-docker-compose.yml file. NodeName is the node name. Please keep each node name unique.
docker-compose -f scan-docker-compose.yml up -d
You can then use docker logs -f container id to view the container logs to ensure that the operation is successful.
After success, the following figure is shown: 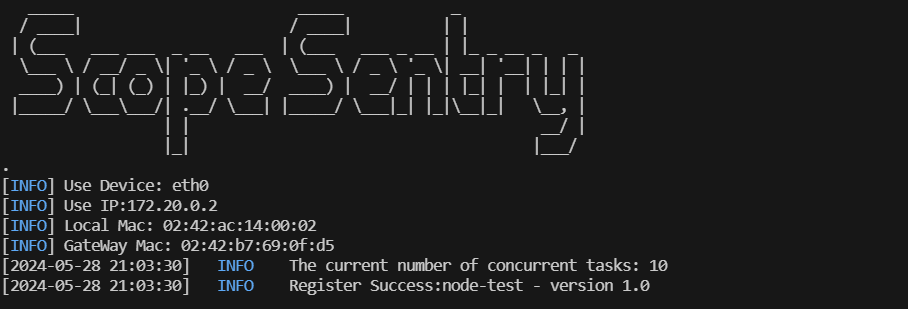
Compile and install
git clone https://github.com/Autumn-27/ScopeSentry-Scan
cd ScopeSentry-Scan
go build -o dist/ScopeSentry ./cmd/ScopeSentry/main.go
cd dist
chmod +x ScopeSentry
./ScopeSentry
#The configuration file will be generated for the first run. Modify the database address in the configuration file and run again
Libpcap environment needs to be installed
Download npcap driver for Windows
Libpcap has been statically compiled and packaged for Linux, no other operations are required
Successful run screenshot: